 Data logging and data analysis are valuable tools for improving your driving skills. There are, of course, several commercial solutions out there, but I nevertheless decided to make my own Arduino-based data logger. It’s completely open source, so you can easily build your own.
I used the following components, sourced from Adafruit:
- Arduino Uno, I recommend a starter pack if you also plan on doing other projects. Otherwise, you’ll need at least the proper USB cable for programming and power.
- Ultimate GPS logger shield, which combined a GPS module and SD card reader/writer.
- Stacking headers (if you want to add the LCD or other shield on top).
- External GPS antenna and the required cable.
- An LCD is optional, I used the RGB LCD shield with buttons.
- Also optional is an IMU (for measuring G-forces and heading), I used the LSM9DS1.
You will also need a Micro SD card. Assembly will require soldering. I soldered the IMU to the GPS logger shield. Power in the car can come from a USB port, either built-in or a cheap one for the cigarette lighter.
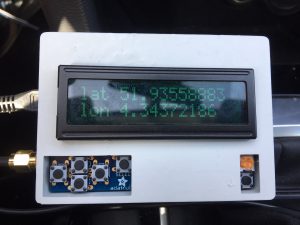
I designed a simple 3D printed case for the version including LCD. You can download the STL file and OpenSCAD source. The STL contains both case and lid, you’ll have to split them and rotate the case.
The source code can be downloaded here. I used the following libraries, as the Adafruit libraries are rather inefficient:
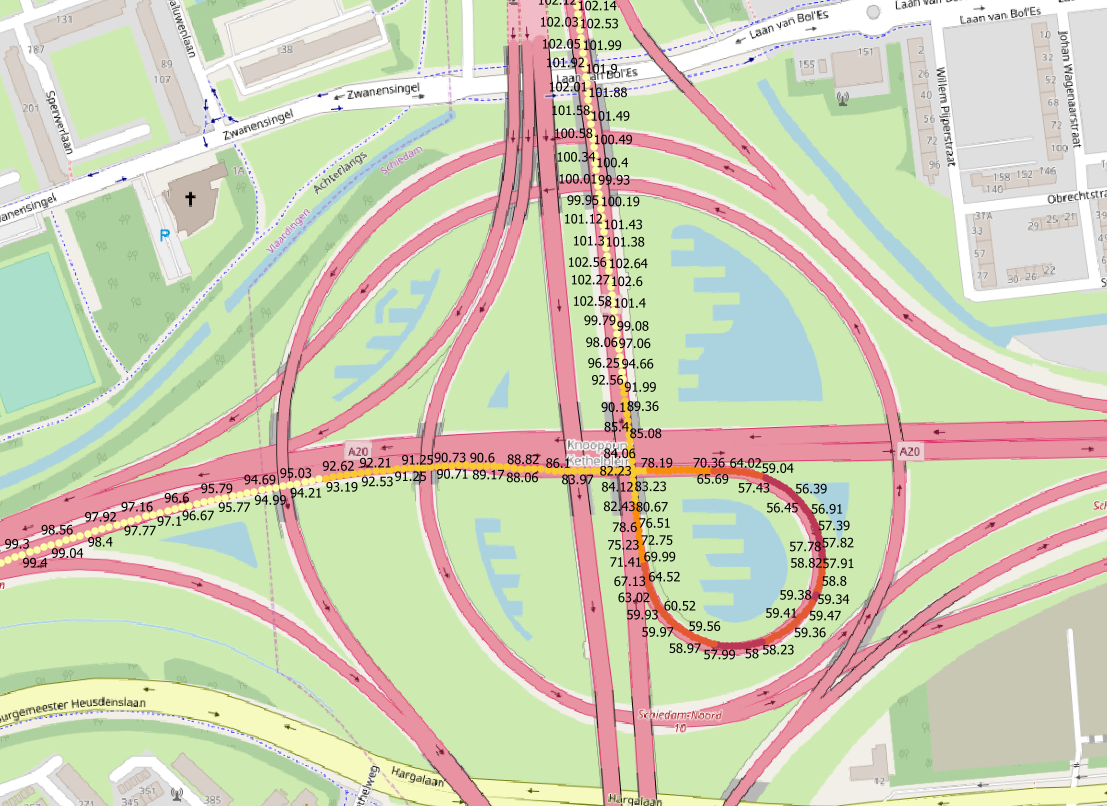
With the RGB LCD, the LCD color represents the GPS status (red = no fix, green = fix). The left/right buttons can be used to switch between position and speed/heading readout. Time, GPS position, and IMU readings are written to a CSV file on the SD card. I used 5Hz sampling, as this is the maximum frequency at which the GPS receiver will update the position. You can view the data in Excel/spreadsheet of your choice or visualize it in QGIS. Importing it in MoTeC i2 might work, too, I haven’t tried.
For importing into QGIS, use Layer – Add Layer – Add Delimited Text Layer. Check “Trim Fields”. Select field_4 as X field (longitude) and field_3 as Y field (latitude). The Geometry CRS is EPSG:4326 (WGS84). Set the project CRS to you country’s CRS, and you can add e.g. OpenStreetMap and visualize the logged parameters, such as speed.
